Ultrasound Maintenance: What Service Teams Should Check (and When)
November 21, 2026
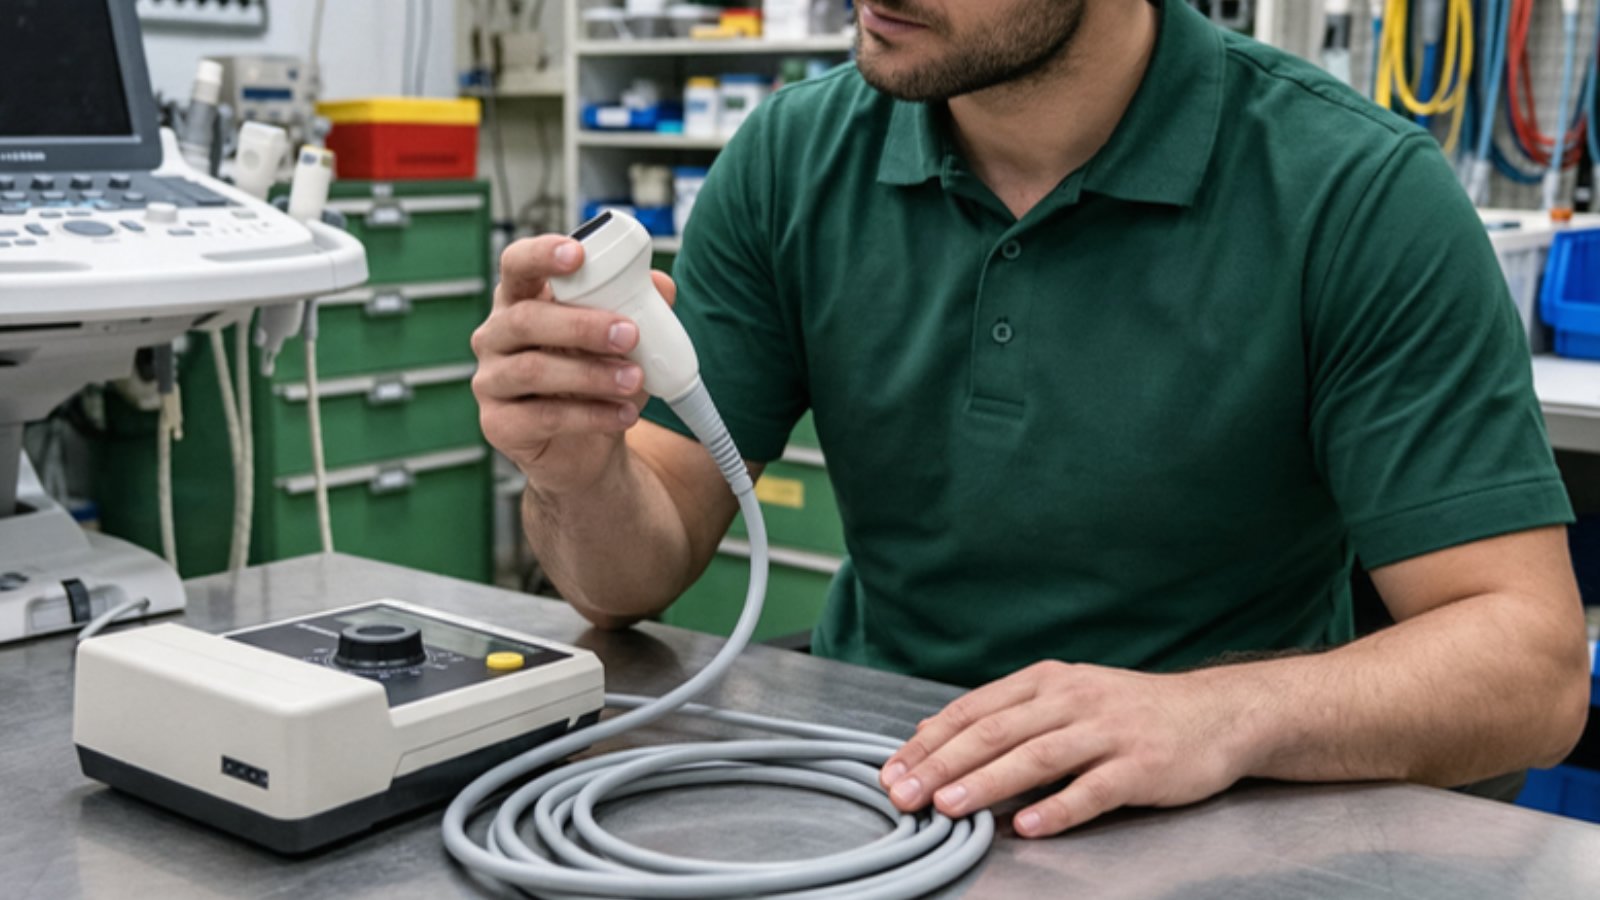
If you service ultrasound systems, most of your ultrasound maintenance work isn't on the console. It's on the transducers: the part that gets handled, wiped, disinfected, dropped and plugged in all day. This guide covers what a service team should check on a cart-based ultrasound system, how often to check it, what to write down, and what to do when a check fails.
It's written for independent service companies and small OEM service teams who look after ultrasound alongside X-ray, CT and other imaging.
Why ultrasound maintenance is mostly a transducer problem
The American Institute of Ultrasound in Medicine (AIUM) says it plainly in its 2025 guideline on cleaning and preparing ultrasound transducers: without proper care of probes and equipment, imaging performance can be reduced. The same guideline points to a study that found probe performance compromised in some way in 39.8% of the transducers evaluated.
That matters for a service team because a degraded transducer often doesn't throw an error. The system boots, the image looks "fine," and the sonographer works around the problem until someone notices. By then you are looking at a complaint, a rushed visit, or a repeat call.
AIUM also warns that following anything other than the manufacturer's instructions for use may damage transducers and affect diagnostic results. In other words, the cleaning agent on the shelf can be the root cause of the fault you get called for.
Ultrasound maintenance follows the manufacturer's schedule
For some equipment, a US hospital can move maintenance intervals away from the manufacturer's recommendation based on its own risk assessment. Ultrasound is not one of them.
CMS memo S&C 14-07-Hospital lets hospitals adjust maintenance frequency and activities through an Alternate Equipment Management (AEM) program, with written policies and documentation. But it lists exceptions, and the first example is clear: all imaging/radiologic equipment must be maintained per the manufacturer's recommendations. Medical lasers and new equipment without enough maintenance history are excluded too.
So for diagnostic ultrasound, your PM interval and your PM content come from the service manual for that model. If you support hospital customers, every item on your ultrasound PM checklist should trace back to the manufacturer's procedure, not to a generic template. For how intervals work on equipment that can go on an AEM program, see our guide to medical device preventive maintenance.
What to check: a practical ultrasound maintenance checklist
Use the manufacturer's procedure for the exact model and software version as your source. The structure below is what a complete visit usually covers, so you can spot gaps in your own checklist.
1. Transducers
Inspect every probe the site uses, not only the ones plugged in on the day. AIUM recommends regular interval inspection of scanners and transducers, including the connector, cable, housing and acoustic lens. Look for:
- Cracks, cuts, bubbles or swelling in the lens
- Cracked housings or separated seams
- Cable cuts, kinks or worn jacket, especially at the strain relief
- Bent, dirty or corroded connector pins
- Image dropout or dark lines when you scan per the manual's test method
Record each probe's model and serial number with its result. Probes move between systems and sites; the record has to follow the probe, not the cart.
2. System and cart
- Air filters and fans: clean or replace per the manual.
- Trackball, keyboard and controls: check every function and clean.
- Monitor and touch panel: check display, brightness and response.
- Cart: casters, brakes, mounts, probe holders and cable hooks.
- Power cord, plug and peripherals (printer, footswitch, ECG module if fitted).
Between service visits, operators can catch a lot. TU Delft's open course for medical equipment technicians gives a simple daily routine for ultrasound: wipe dust off the exterior, wipe probes with an alcohol-free cloth, check cables aren't twisted and probes are stored safely, check fittings and accessories are mounted correctly, and switch on to confirm the monitor shows the right image. Hand a version of that to the site's users so small problems reach you sooner.
3. Electrical safety
Run the electrical safety tests the service manual specifies, on the system and on each transducer, with a calibrated safety analyzer. Write down the readings, the analyzer used and its calibration date, not just "pass." A reading that creeps up between visits tells you more than a single pass/fail.
4. Image performance
Run the manufacturer's image performance checks, with a phantom if the manual calls for one, and compare against the baseline from acceptance testing or the last PM. Change since the last visit is the signal you are looking for.
5. Software, settings and logs
Note the software version, back up presets if the manual describes how, and review the error log. Logs often show intermittent faults the users never reported because the system recovered on its own.
How often: daily, at PM, and after any incident
- Every patient (users): clean and disinfect transducers. AIUM says external transducers need low-level disinfection and internal transducers need high-level disinfection, always with an agent the manufacturer lists as compatible.
- Daily (users): the TU Delft-style visual and functional checks above.
- Each scheduled PM (service): the full checklist, at the interval in the service manual.
- After a drop, a fluid spill, or an image quality complaint: inspect the probe before it goes back into use. AIUM notes that reusing transducers damaged during reprocessing can affect the images.
What to record on every ultrasound visit
Your record is what a surveyor, the hospital's HTM team or the next tech will read. At minimum:
- System model, serial number and software version
- Each transducer's model and serial, with its inspection result
- Electrical safety readings and the analyzer used
- Image performance results against baseline
- The manual section or procedure you followed
- Parts replaced, with part numbers
- Anything found and not fixed, and who it was escalated to
If you want a ready structure, our field service report template covers these closeout fields.
When a check fails: from PM to corrective work
A failed PM item is the start of a corrective job, and this is where the time goes. The tech has to find the right section of the service manual for that model, follow the troubleshooting steps, decide whether the probe or board is repairable or needs replacing, and document all of it.
Three habits keep it under control:
- Work from the manual for that exact model and software version, not from memory of a similar system.
- If the manual doesn't cover the symptom, escalate instead of improvising. A guess on an imaging device can mean a second visit or an image nobody should trust.
- Close out with the procedure reference, so the next person who sees the same fault on the same model starts where you finished.
The same habits drive first-time fix rate and mean time to repair across the rest of your fleet.
Why the manual has to be easy to reach
The US Bureau of Labor Statistics counts about 71,800 medical equipment repairer jobs in 2025, projected to grow 13 percent from 2025 to 2035, with about 8,200 openings a year. BLS lists ultrasound among the imaging equipment repairers work on, and notes they may consult technical manuals as needed.
That is a lot of new people. Teams can't rely on a few senior techs who know every probe and console by heart. The procedure has to be findable by whoever is on site. The WHO medical equipment maintenance programme overview describes a maintenance strategy as inspection plus preventive and corrective maintenance. For ultrasound, the same service manual drives all three.
Where Fixr8 fits
Fixr8 turns equipment service manuals into step-by-step guidance technicians follow on the job. When a probe fails inspection or the system logs an error, the tech asks Fixr8 and gets the procedure with the exact manual section cited, so they can check the source before they act.
When the manual doesn't cover the fault, Fixr8 says so and escalates instead of guessing. If your team services ultrasound and other imaging equipment, check whether your team is a fit or book a 30-minute demo.
Sources
- AIUM: Guidelines for Cleaning and Preparing External- and Internal-Use Ultrasound Transducers and Equipment Between Patients (2025 Revision)
- CMS S&C 14-07-Hospital: Hospital Equipment Maintenance Requirements
- TU Delft OpenCourseWare: 2.1.5 Preventative maintenance (ultrasound)
- U.S. Bureau of Labor Statistics: Medical Equipment Repairers, Occupational Outlook Handbook
- WHO: Medical equipment maintenance programme overview
Stop paying for the same repair twice.
FixR8 Field Notes: one short email a week with practical playbooks, one sourced stat, and one blunt takeaway for equipment service teams. No fluff. Unsubscribe anytime.
Opens Substack to confirm. Read past issues